Thursday, June 27, 2013

Interactive Card featuring Stkr.It

Wait till you see the card tutorial for today.  So hilarious!  This card is well over due for my mom who is an iPhone junkie.  uhh, seriously, no joke! Plus, who doesn't love an interactive card? 
 
Today, we are introducing a few new items or rather new to us chicks. Us chicks took a day to off to head on over to Archivers in Orland Park, IL.  This was our place to stock up on our scrapbooking supplies, but sadly they closed their doors last month.  Before they did we headed over there to take advantage of the final sale they had. Here is one of the stamp sets I purchased:

 
Isn't this one adorable?  It is what they call a "Front & Back" stamp set as you can see.  This was fun to play with.  But even funner to have it shaking on a Wobble sticker. I colored her in Prisma colored Pencils and of course added a bit of glitter.  Because what is a card without glitter? The next item is a really kool item it's called: Stkr.It
 
 
I never heard of this before but it caught my eye.  How cool would it be to receive a card only to find that you can scan your phone/iPad to get the message???  um, yeah, super kool! I hate my writing and sometimes I just don't know what to say in it.  Ever get like that?  Well, I can now use this to send photos, videos, songs or just my own voice! The recipient must have an iPhone/iPad or an Android. If they have one or the other then all they have to do is make sure they download any bar scan app. That's all that is required. Gotta try this to believe it.  In the meantime, head to our YT channel and check out the Tutorial using the stkr.it to make this card.


Please leave a comment below if you have any questions, suggestions, requests or if you wanna just say Hi.  Thank you all for visiting us today.
 
The 3 Chicks,
Hannah, Joyce and Marisol

Monday, June 24, 2013

Tutorial Review: Gift Card Holder

Hello!

We do so much research for our projects to get inspired to do new things. That research comes from Google searches, Pintrest, and YouTube just to name a few. It's not uncommon to start with a tutorial as it is and tweak as you go. Today we're going to be looking at a tutorial I found a while back and just finally tried out for some graduation cards this year. 

Her name is Gina K and her YouTube account is StampTV. She's very talented and clearly she has been doing this a long time. Her style is very much like mine, I only wish I had all of her toys. Some day!

Today we'll be talking about her two-part tutorial for gift cards. It was very well done, of course, but there were a few things I tweaked along the way. First of all, I wanted to do mine in a more masculine look because I had a couple of guys graduating high school and I didn't want to give the traditional card to them.


She ran through the measurements pretty quick so I had to go back a couple of times to get all of them written down. I do like the sizes because you can get 2 gift card holders from one 8 1/2" x 11" cardstock. You can't beat saving paper! Here's they are:

Base Cardstock: 4 1/4" x 10"

  • Score at: 3", 4", 5", 8"

Patterned Paper:
(Inside)

  • 2 - 2 3/4" x 4"
  • 1 - 3 3/4" x 4"
  • 2 - 3/4" x 4"
(Outside)
  • 2 - 2 3/4" x 4"
  • 1 - 1 3/4" x 4"  (Top flap)

So here's what I'm using:


I used basic brown cardstock with my BoBunny Trail Mix collection 6" x 6" cardstock. I thought it turned out perfectly! Everyone who saw the finished product immediately knew it was for a guy and loved the patterns! I'll definitely be saving what I have left for more guy cards. So next I cut out all of my papers and scored my bases to match what she said:


Next she suggests using a corner rounder on all of the base corners and on the top and bottom patterned papers for both sides. I totally agree with this because I love the effect rounded corners give. Then everything gets glued on.

Outside patterns
It's a little hard to see in the picture, but on the outside patterns picture you can see there is some shiny red tape (super permanent double sided tape) on the outside edges on the blank areas. They were left intentionally blank because you won't be able to see the inside of the pocket for the card. So here we wanted to be sure not to put the adhesive too far in because then the card wouldn't fit. The only addition (not pictured here) that I ended up making was that I added a line of red tape along the outside edge because when I put the sides together and later added my card, I found that it could easily slip out. So this way it can be completely tucked inside the card and I felt much better about them possibly carrying around the gift card in the holder.

Inside patterns
Next she had everyone turn the card so that newly formed pocket stuck away from the card in order to make the slit for the card to tuck into. She had everyone cut 1/4" off of the pocket which looked ok, but you lose the layered effect on that area. I decided to just take an Xacto knife and my metal ruler and cut a slice on the score line the width of my card. it was invisible once folded and I got to keep my layered look.


Where she decided to move onto closing the card, I felt like it needed an area where I could write something. So I used the Spellbinders Label 17 and punched out a couple of light brown cardstock pieces for my sentiments  I "aged" them with some Tom Holtz Archival ink in Tea and Tuxedo Black. This is a hand done process so no two are ever the same, which I really like.


Now I was ready to move on to the outside. She stamped a rounded sentiment and punched it out with a round punch and layered it onto a ribbon horizontally with the flap side in front. I thought that looked nice, but I made a couple of changes for myself. I had a really cute "You Did It" stamp I wanted to use and I used it with the Label 17 collection on white and light brown. I used a very bright shiny wide green ribbon as my focal color splash. Since my sentiment was more vertical, I decided to wrap my card vertically and I placed the stamped sentiment on the "back" because I wanted it to be the focus. I really like the finished product!


All in all it was a great tutorial! This is definitely a pattern I will use for years to come! It is such an easy and quick card holder. I love all of the options you could do with the card. I also love how many different occasions you could use this for: Weddings, Anniversaries, Graduations, Just Because, the list goes on! And while I didn't make any great big changes, I made enough that it looks and feels like mine.

I hope you enjoyed this tutorial review/breakdown of a some grad cards I made! Thank you for checking out our blog and we hope to hear from you soon. Don't forget to check out our YouTube channel and our Instagram page!

The 3 Chicks,
Hannah, Marisol & Joyce

Saturday, June 22, 2013

YouTube Video: Envelope Maker Tutorial

Hello All!


We're just stopping in to let you know that we've put up a tutorial on YouTube 
that we talked about on our Instagram page!

In the video we show how to use the We R Memory Keepers envelope maker! 
Such a great tool that makes making envelopes a breeze! 
So head on over to our video to see how it's done!


The 3 Chicks,
Hannah, Marisol & Joyce

Friday, June 21, 2013

All That Glitters: Graduation Gift Card

Hello Again!

We hope everyone is having good weather! They say it's June here in Indiana but it feels more like September when this is being written. There is a saying in Northern Indiana: If you don't like the weather, just stick around and it'll change. This is saying is no joke around here, especially during the "warmer" months. Just the other day we were at high 80s by 10am all the way into the night. The next day we didn't even hit 70s until late afternoon! Such a crazy "summer" we're having! 

Good thing that the weather in our craft rooms is always lovely! Today we'll be working on this adorable gift card holder:


This is an unbelievably easy card to make, which makes it really fun to add things like sparkle paper to add an extra flare to it! So lets get started!

What I used:
  • Glitter Paper (Glacier Springs Collection) by Colorbök
  • This is Huge Set stamp by Art Impressions
  • Spellbinders Shapeabilities (Labels 17 Collection)
  • Scoreboard, Scissors, Adhesive, Cuttlebug (AKA Piglet in 3Chicks), Tim Holtz Archival Black ink

The arrows show what pieces I used from each collection.
I love all
3 sets and I'll be using them all eventually. :)
The first thing I should mention is that only one side of this paper is glittery. I'm sure it was meant solely for scrapbooks but I like to be rebellious and do things my own way. This card would probably look just as great with a black outside and white inside (the white is a really soft to the touch, yet has a crisp white color so that is very nice) but I wanted a totally blacked out card. I just want the glitter to be the focus of the card and I felt like the white was so bright it would be lost as soon as the card was opened.

If you don't want to do this double up technique, then all you'll need to have is a 6" x 4 3/4" paper, scored at the 3" mark and you're ready to move on. If you do like the doubled up paper (this really does make the card stronger even if you're not interested in the blackout technique) then keep reading!

I cut a sheet of the 12" x 12" black glitter paper into a 4 3/4" x 12" strip. I then scored the paper at 3", 6" and 9". I did a double score (meaning I flipped the paper to the other side and scored again) to really soften the 3" line for easier folding. When I do this card again, I'll probably end up double scoring all of the lines. 


The next thing is adding glue to all four squares. I didn't add any glue to the score lines because I wanted to be able to have some give there. Keeping the page laying in front of me as it is photographed above, I folded the paper completely in half to take the paper from 12" to 6" long. I really worked on making the paper smooth, getting all the glue evenly distributed. Then I folded the card in half again so that it became it's final size of 3" x 4 3/4". Then I tucked it firmly between some heavy books to dry overnight. (Glue and I don't always get along and I wanted no chance of warping or wavy pages.) Ta da:

Just a tip: If you're doing a card like this where it's possible for stray white edges to pop up, don't panic! Just grab a black sharpie and color those edges black (or whatever color you're working with in the majority) and it will all blend so no one can tell! :)

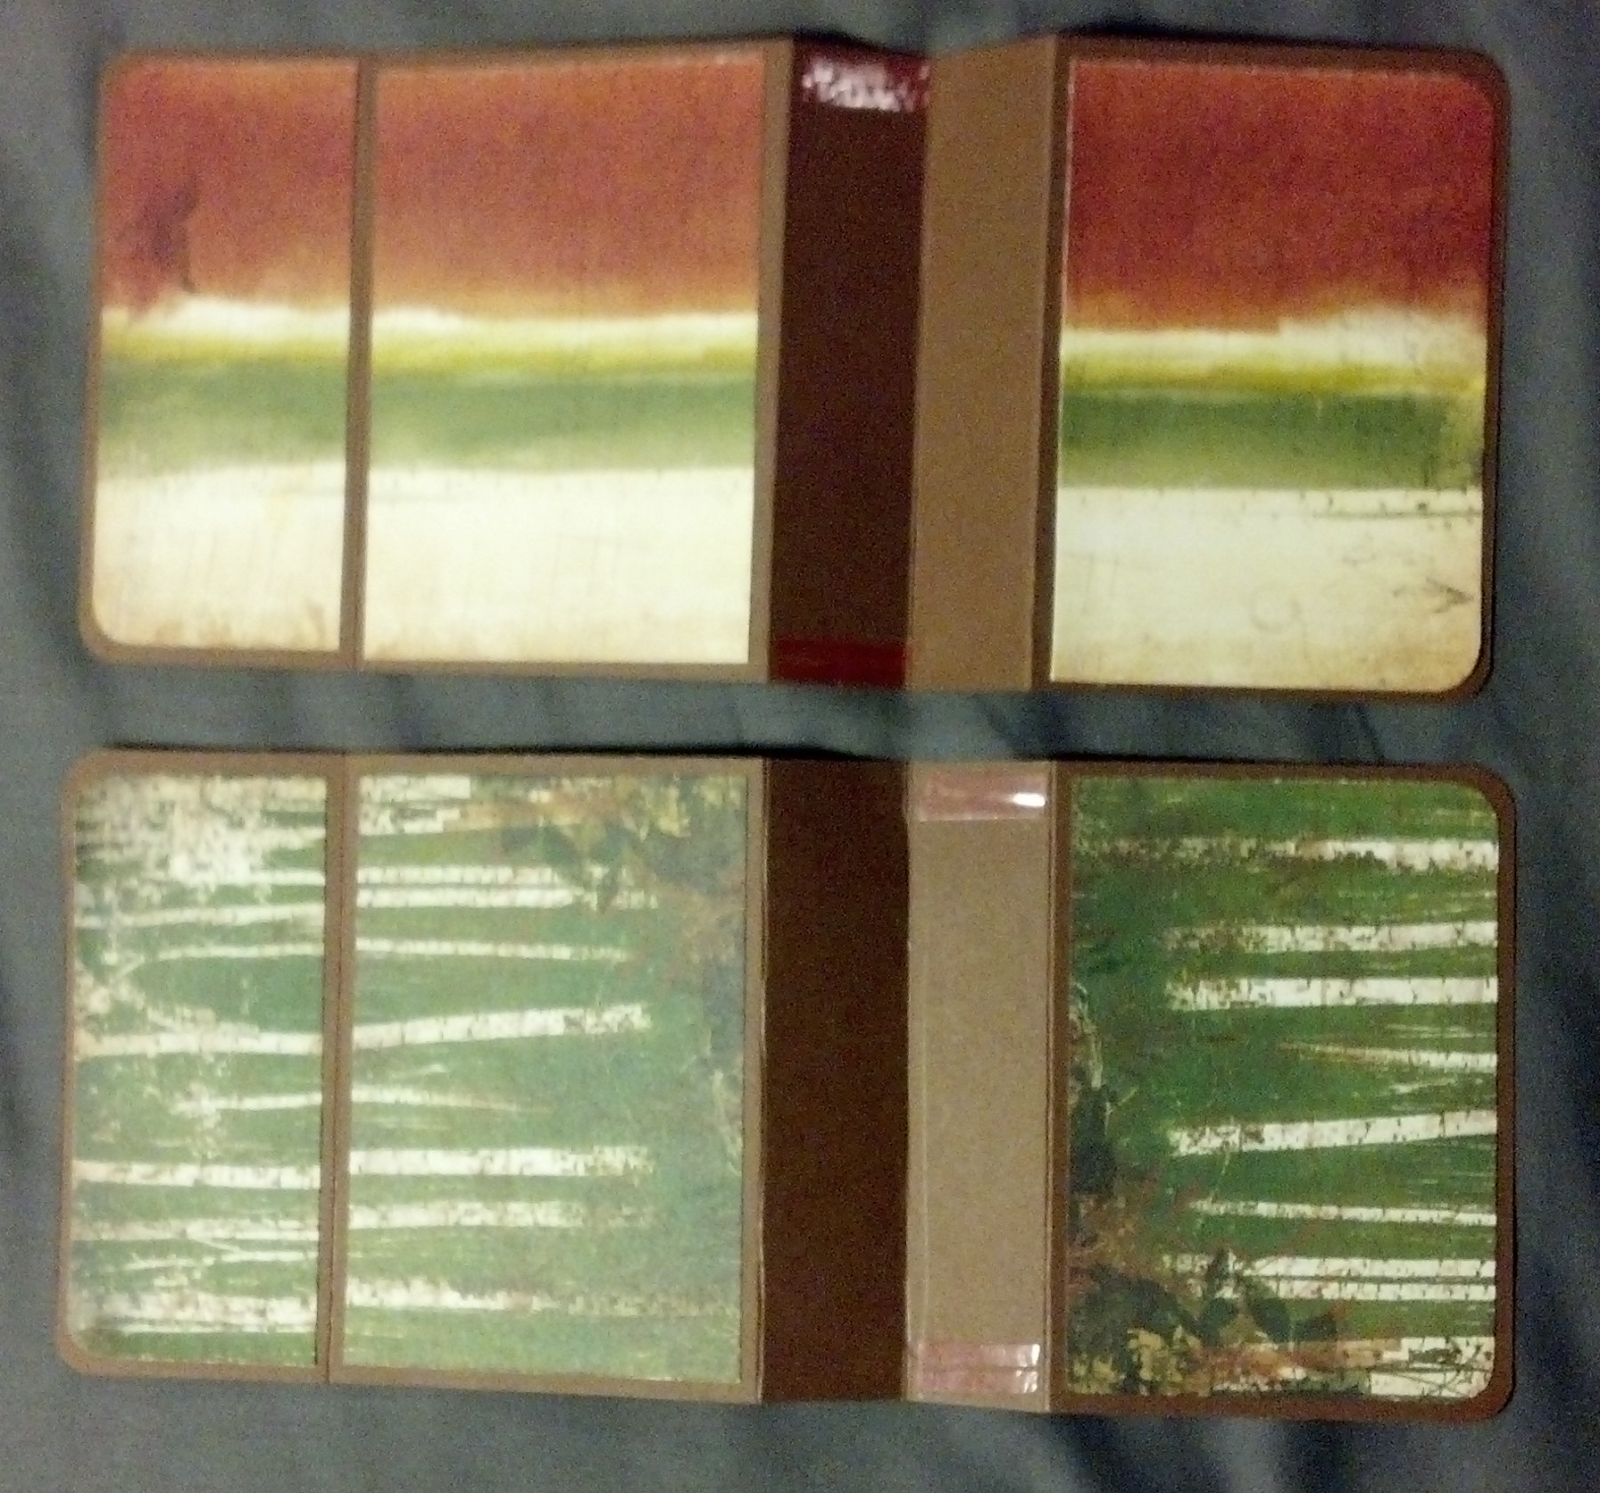
We next move on to the "pop up" part of the card that holds the gift card. For that we use more black glitter paper cut to 5 1/2" x 4 1/2". With the 5 1/2" laying in front of you, score at 3/4", 1 1/4", 2 1/4", 3 1/4", 4 1/4" and 4 3/4".
For the sake of the camera I left the inside white , but on the finished
product you'll notice the inside is also black. I repeated these steps
on a flat black paper and glued it to the inside.

Before I glued the outside tabs together I really give these scores some good folding and creasing because it has to be able to go from fully popped open to fully flat in an easy motion. After I felt like it moved good, I started folding at the score lines inward toward the center creating a square that had an extra "side" on the inside. After some experimenting I found that glue worked the best because the glitter would coat any tape and then pop open after some test folding. I again wanted this part to sit overnight for strength before I fully assembled this card. I would recommend using something to keep the tabs together while they dry. I used some bobby pins since there are so many lying around my house. They worked very well! Whatever adhesive you use, make sure not to go too far in or your card won't fit. 

In the picture you can see the white from the glue,
it dried clear so you couldn't even see it. I love the
Martha Stewart craft glue for that very reason!
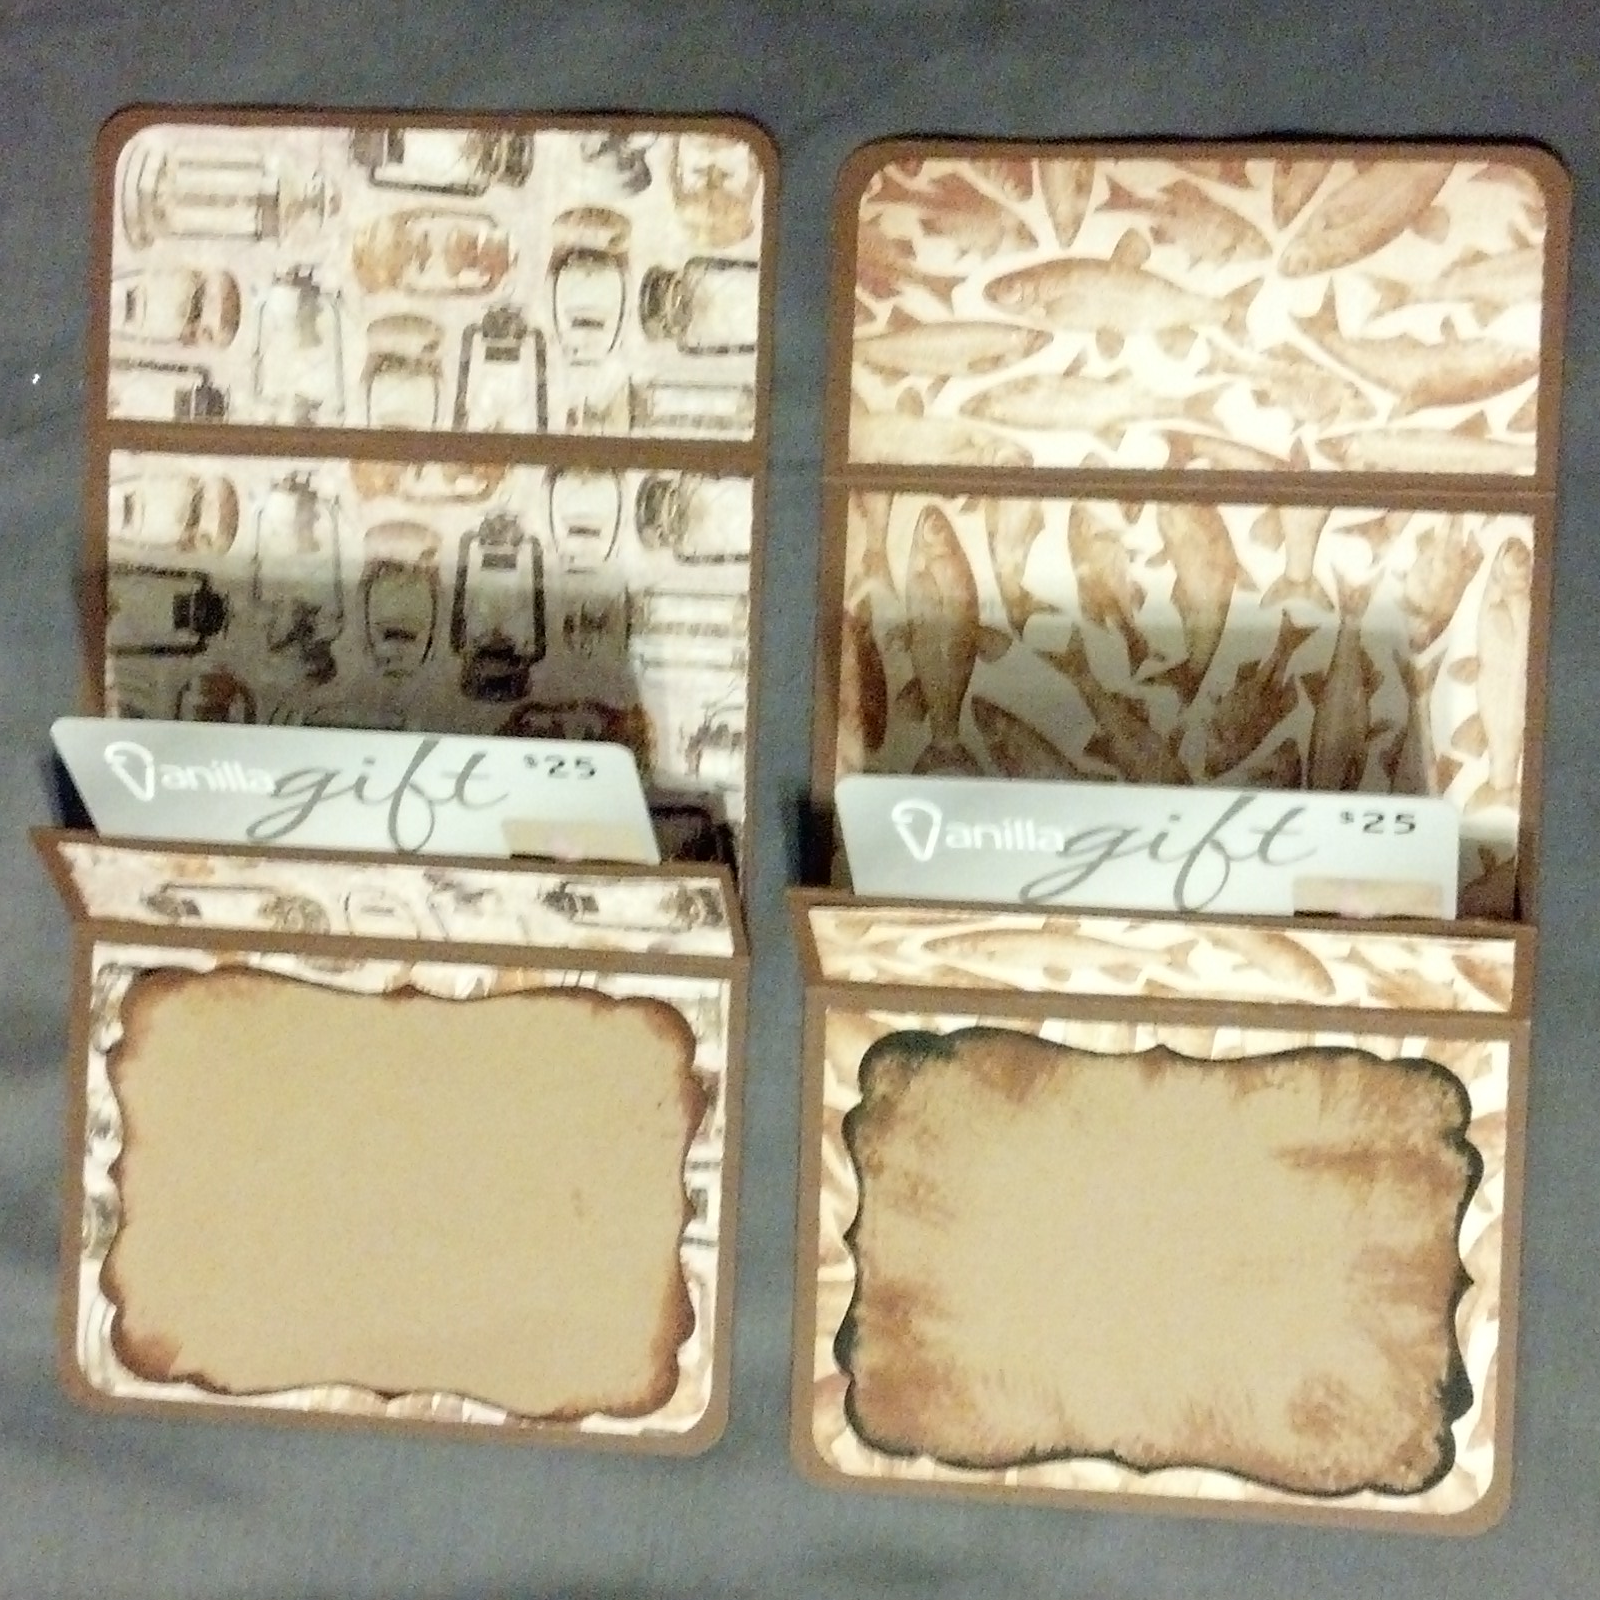
Next I punched out all of my layers using the white and black glitter paper and my "Piglet". I also stamped my image onto flat white paper so it could dry while I was doing this step. I layered white glitter, then black glitter, then flat white. I love the effect it gave! (Shown at the end.)


I also punched out a flat white paper for my sentiment on the inside. I wanted enough room to actually write something other than just "congratulations" but I was very limited on space because of my pop up. So after some thinking I decided that I would just line up and cut off the top and bottoms. It still looks great and now it fits like a glove! Which is a great reminder that I don't have to use things as packaged.


So now it's time for the fun part...putting all these pieces together to show you my finished product! A really beautiful pop-up gift card holder! I'll definitely be using this basic idea for many years to come! Let us know if you end up using it as well!

Thanks so much for checking out our blog! We hope you really are enjoying our posts half as much as we are enjoying making them for you! Give us a shout if you have any questions or requests!

The Three Chicks,
Hannah, Marisol & Joyce

Tuesday, June 18, 2013

All That Glitters: Card Using Digital Stamps

Hello!

We had such fun doing our 10 Items or Less segment last month that we decided to do a new one! This month we'll be focusing all of our creative powers on shinny glittery things! We hope you enjoy the new things we come up with!

Are you ready for summer?  I'm not.  But I know many kids who are super excited to be out of School for the year.  With that in mind, I decided to get a goodie bag for a few of my "pre-teen" friends to wish them a Happy Summer.  So of course I have to start with a Card. 

This card is using a Digital Stamp from Sushi Dolls. This one is called "Bookworm." How appropriate I use her on the card today. I wanted to try making a 5"x5" scenery card. Not familiar with Digital Stamps? We will have a post really son explaining what they are. So here is the card that I came up with. Oh, and don't forget to watch the Card Tutorial Here. 

Let me know what you think:

This card will be going to a girl named Ta'Jah!
Isn't she a cute image? In fact, did you know that the Three Chicks started our love for one another with our love of books?! Yep, and we still love to read! Thank you all for taking time out to check out our Blog and hope you all have a wonderful day!

The Three Chicks,
Hannah, Marisol & Joyce